How to Use Exterior Oil-Based Paint for Wood: A Step-by-Step Guide

How to Use Exterior Oil-Based Paint for Wood: A Step-by-Step Guide. Protecting your wooden surfaces with exterior oil-based paint can significantly extend their lifespan while enhancing their appearance. Whether you’re painting a deck, fence, or outdoor furniture, following the right steps ensures a durable and beautiful finish. Here’s a step-by-step guide on how to use exterior oil-based paint for wood.
Step 1: Gather Your Materials

Before you start, make sure you have all the necessary materials. Here’s what you’ll need:
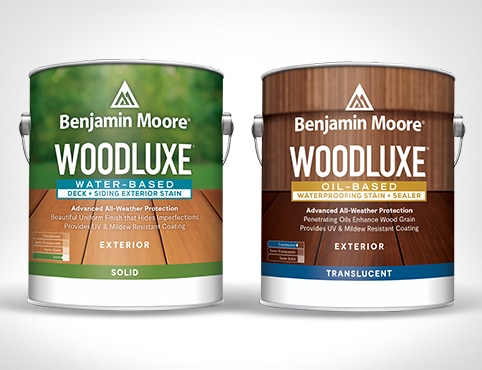
- Exterior Oil-Based Paint: Choose a high-quality paint specifically designed for exterior wood surfaces.
- Primer: A suitable primer for wood surfaces is essential to ensure good adhesion.
- Paintbrushes and Rollers: Select brushes and rollers that are appropriate for oil-based paints.
- Drop Cloths and Painter’s Tape: Protect your work area and ensure clean edges.
- Sandpaper: For surface preparation.
- Paint Tray and Stir Stick: For mixing and applying paint.
- Protective Gear: Gloves, safety goggles, and a mask to protect yourself from fumes and splatters.
Step 2: Prepare the Surface
Proper surface preparation is crucial for achieving a smooth and durable finish. Follow these steps:
- Clean the Wood: Remove any dirt, dust, or mildew from the wood surface using a mild detergent and water. Rinse thoroughly and let it dry completely. (Read More: Decor Home Innovations: Smart Technology Meets Timeless Design).
- Sand the Surface: Use sandpaper to smooth out rough areas and remove any loose paint or splinters. Sanding also helps the primer and paint adhere better to the wood.
- Repair Any Damage: Fill in any cracks or holes with wood filler and let it dry. Sand the filled areas to create a smooth surface.
- Prime the Wood: Apply a coat of primer to the wood surface. Primer helps the paint adhere better and provides an even base for the topcoat. Allow the primer to dry according to the manufacturer’s instructions.
Step 3: Apply the Paint
Now that your surface is prepped, it’s time to apply the exterior oil-based paint. Here’s how to do it:
- Stir the Paint: Use a stir stick to thoroughly mix the paint. This ensures that the pigments and oils are evenly distributed.
- Cut In the Edges: Use a paintbrush to cut in around the edges and corners where a roller might not reach. This ensures a clean and even application.
- Roll the Paint: Use a roller to apply the paint to larger, flat surfaces. Roll the paint in a “W” or “M” pattern to ensure even coverage. Avoid overloading the roller to prevent drips and streaks.
- Apply Multiple Coats: For the best results, apply at least two coats of paint. Allow each coat to dry completely before applying the next one. Follow the manufacturer’s recommended drying times between coats. (Read More: Fix It Fiesta Home Upkeep).
- Smooth Out Drips and Bubbles: After each coat, check for any drips, bubbles, or uneven areas. Use a brush to smooth them out before the paint dries.
Step 4: Finishing Touches
Once the paint is dry, there are a few finishing touches to ensure a professional look:
- Remove Painter’s Tape: Carefully remove the painter’s tape before the final coat of paint dries completely. This prevents the paint from peeling off with the tape.
- Touch Up: Inspect the painted surface for any missed spots or imperfections. Use a small brush to touch up any areas as needed. (Read More: Rustic Revival Embracing Farmhouse Decor).
- Clean Up: Clean your brushes, rollers, and other painting tools with mineral spirits or paint thinner. Properly dispose of any leftover paint and materials according to local regulations.
Step 5: Maintain the Painted Surface

To ensure the longevity of your painted wood surface, follow these maintenance tips:
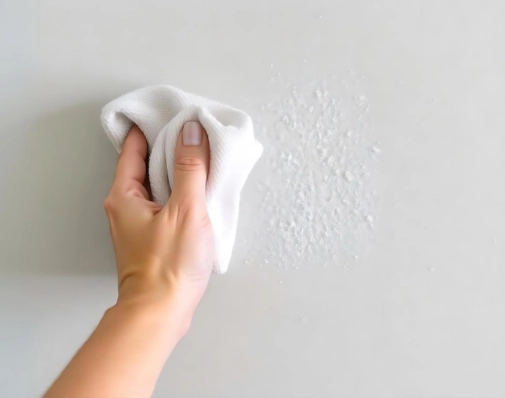
- Regular Cleaning: Keep the painted surface clean by wiping it down with a damp cloth to remove dirt and debris.
- Inspect Annually: Check the painted surface at least once a year for any signs of wear or damage. Touch up any areas as needed to maintain the protective finish.
- Repaint as Necessary: Depending on the weather conditions and wear, you may need to repaint the surface every few years to keep it looking its best.
Conclusion article How to Use Exterior Oil-Based Paint for Wood: A Step-by-Step Guide
Using exterior oil-based paint for wood is a great way to protect and enhance the appearance of your outdoor wooden surfaces. By following this step-by-step guide, you can achieve a beautiful and durable finish that will withstand the elements for years to come. Remember to gather all your materials, properly prepare the surface, apply the paint correctly, and maintain the painted surface for long-lasting results. With the right approach, your wooden surfaces will remain protected and look stunning throughout the seasons.


